We played out 6th campaign game this past Sunday....as we hope to finally get away from Q37.
We are so close.... Having reachd the outer rim of the station, we have passed through a heavy bulkhead into a long cargo bay. The whole area appears to have been abandoned in a hurry, with palettes & crates scattered all over. There are even a couple of shuttles sitting cold & lifeless on the deck.
Despite the stillness, something is still operational, as you can feel a vibration of power through the floor. Suddenly with a flash of green light, a decompression shield flashes across the bay, cutting it in half. A moment later it turns off again.
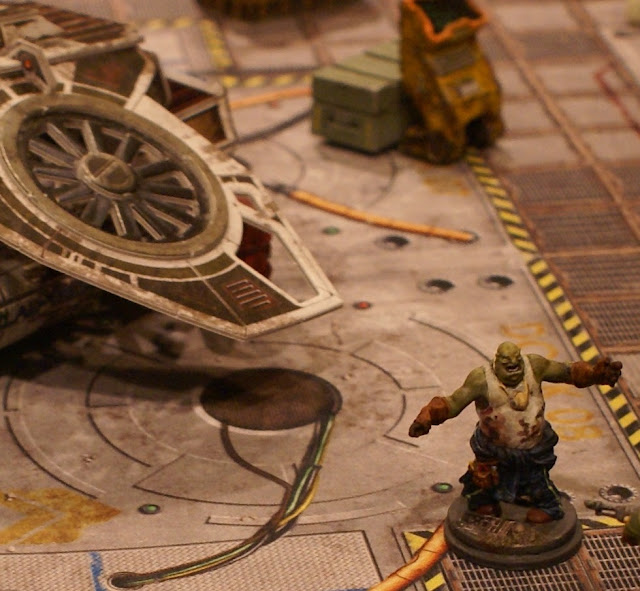
From one of the shuttles a figure shambles into view...it lurches forward with arms outstretched! Normally you would beat a hasty retreat, but with ammo critically low, the only way to reach your ship is across the bay.
Special:
1) At the beginning of the 2nd turn, the player with the highest initiative rolls 2d8 & checks to see where the numbers rolled land on the numbered markers. If they are on the same side or to the left or right, nothing happens. If however, they are on opposite sides, a decompression shield springs up between them.
The lead player of each turn again rolls the 2d8. This will either create a new field or remove one if the results don't allow a field.
2) Player crews must exit off the opposite side of the board they enter from.
3) At the end of each turn, 2 more bloater zombies arrive at random locations.
4) Reanimation & Infection rules are in effect. See Q37 book
5) Critically low ammo. Down to their last mags & clips, players will jam on a 1-4 when making a shooting attack. If that same crewman again jams, that weapon is out of ammo for the remainder of the scenario. If a player rolls 1-4 when throwing a grenade, they run out of that grenade type for the remainder of the scenario.
6) In addition to bloaters, roll a d4. That many soldier zombies arrive at random locations.
7) Random Encounters. Whenever a loot token is unlocked roll a D20. On a 10+, 2 plague zombies will arrive at random locations.
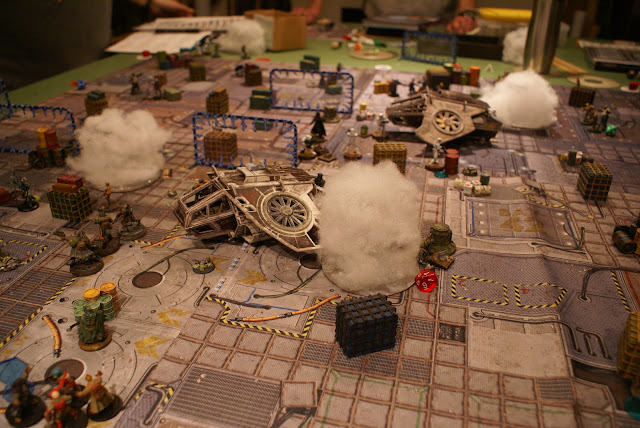
So looking at what I could use to represent the shield walls (our table was 4'x4') I noticed these glowing bracelet packs at the dollar store. They came is several colours, but I opted to grab some green & orange. Even when the glow has faded, they still are bright enough that I will reuse them for other games.
My crew arrives besides another & quickly throws a force wall up. We decided as a group that if a decompression field appears, it would remove any force wall it crosses.
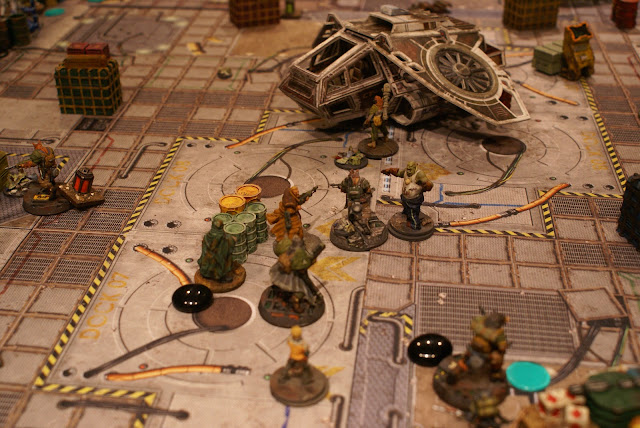
A bloater moves towards one of my crew. We used glass beads to denote infected crew members who were waiting to be forced to do a test. Something I've decided to do, is if an infected crewman can manage to participate in 5 scenarios & pass the tests, they will lose 1 will & gain the High Pain threshold, retaining all their other abilities (ie, specialist soldier)
Dan's crew had a lot to deal with initially. He had the misfortune of seeming to have zombies spawn behind his crew most of the game.
Cutting it close with bloaters. Luckily I managed to pull back & was able to drop the bloater without it exploding.
Scotts & Craigs crews advance towards their own goals. The green tokens are being used to show those who have jammed weapons. We had a lot of jamming going on which really fit the narrative of being down to last bullets.
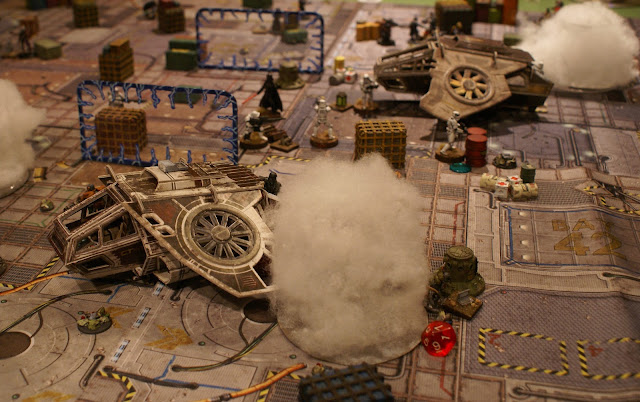
Where's Chen?....Oh never mind, if you see smoke, thats likely where Chen is....
Finally a decompression wall appeared, cutting one of my crew off on the wrong side. Sadly it was the only one that arrived & blipped out the following turn.
By this time, the centre was getting quite busy with crews trying to get across the table.
As it was getting late, we called the game, with most crews still trying to cross. Alas those who didn't manage it, lived, though didn't garner the extra xp.
We chatted about the next step of the campaign, where I gave the players the option of having the 2nd series of scenarios on another planet. There are a lot of infected crewmen who will be hiding their 'scratches' so there is potential to see more zombies. Otherwise we will be heading to hunt bugs at the end of April.
Some takeaways for the scenario for next time...
Have the shields appear left, across or right. The only way not to have a shield appear is to have the numbers from the same side rolled. This will make table setup very challenging with the shuttles. Perhaps switching those out for a couple of small movers or lifts would work.
Thanks for following along


This is so much fun Terry and I love the idea of the glow sticks for the compression wall!
ReplyDeleteThanks Michael!
Delete